Changing a K750 to a W800 ;-)
Sweet link hehe for those whom have Sony Ericsson's K750 n would like something different... hehe--------------------------------------------------------------------------
PART I - The superficials
Here is a nice guide i put together for all who like to take expensive things apart
It is a tough mod actually, in my experience it is on a similar level tothe p-series. But i dont mean to put you off, give it a go!
Have fun
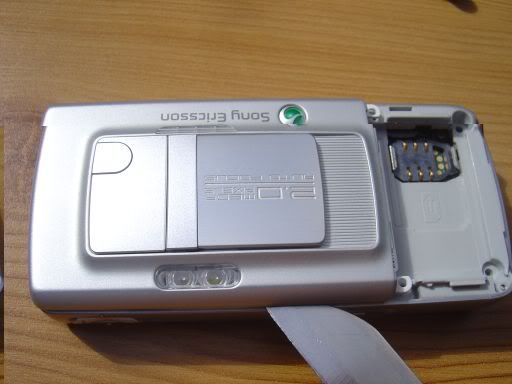
1. ok, lets do this. Now remove the battery cover (lol that will be the easiest thing you do in this mod) Unscrew the 4 screws you see, and keep them somewhere safe
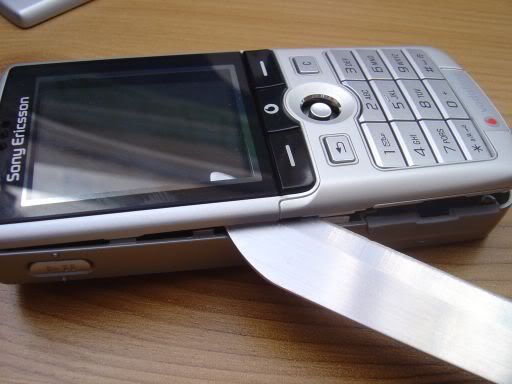
2. Now, use something with a blunt blade and skim around the edges of the back cover, turn the blade now and again and that will release the catches.
3. Use this same technique for the front cover, be careful of the lcd though, expensive to replace
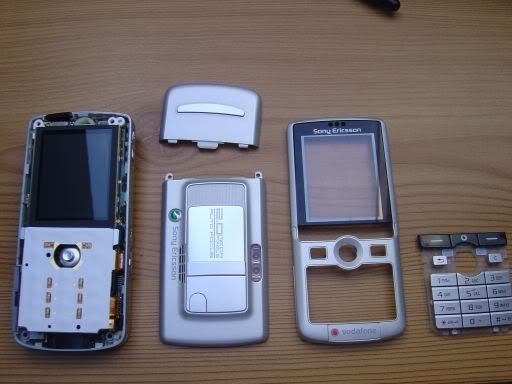
4. Now you should have something like this. Dont be fooled my young friend, we are far from done
PART 2 - DOWN UNDER
Right, lets have a look under her skin shall we. hmmm, she is mutton dressed as lamb methinks not very nice at all!
1. Remove the kepad system: Just rips it off, be gentle of course, its like unplugging anything, it really is that easy.
2. Next lets attack the lcd, exactly as the keypad......just unplg it from the board.
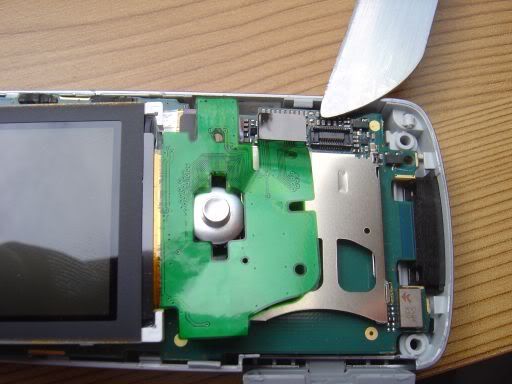
4. Hopefully you now have this:
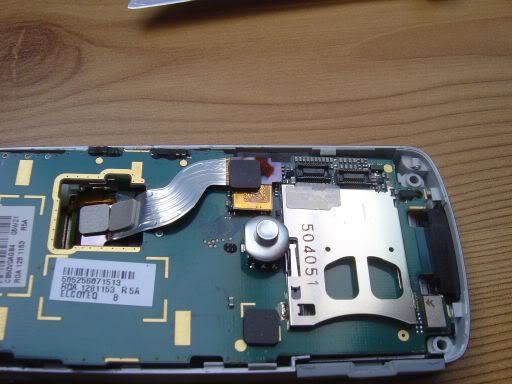
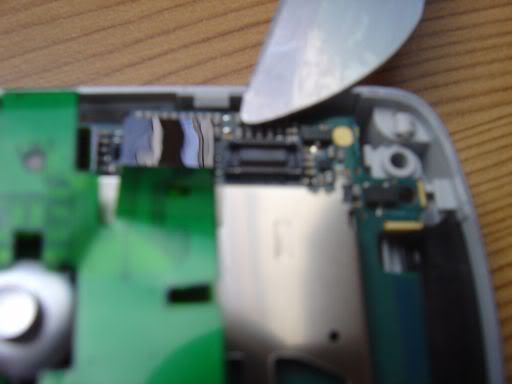
5. And what do you know, yes you guessed it....lets unplg the camera from the baord as well.
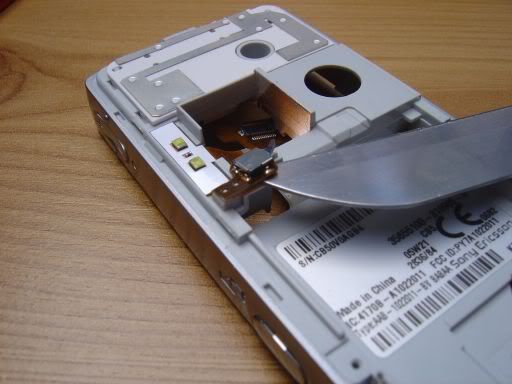
6. Now, lift the baord free, use the knife again to unclip it. And pull it out from the base connector.
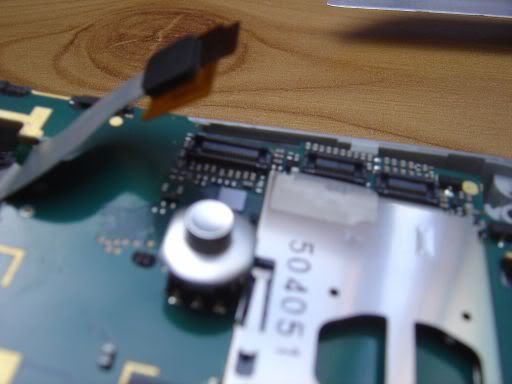
PART 3 - The Camera
1. OK, so now the board is free from the case. What do we see? We see the camera lense and the ribbon. Now, unplug the ribbon from the actual camera, then lift it free.
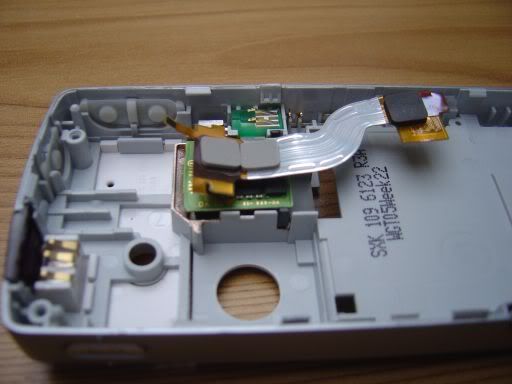
2. Dont forget to remove the little sticky pieces and the flash led's, they just lift free with a knife very easily.
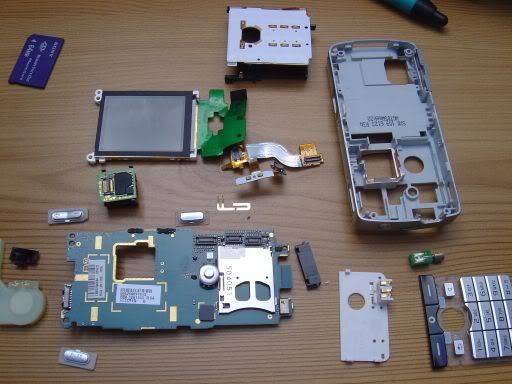
Great, thats it. ONe completely dissmantled K750i
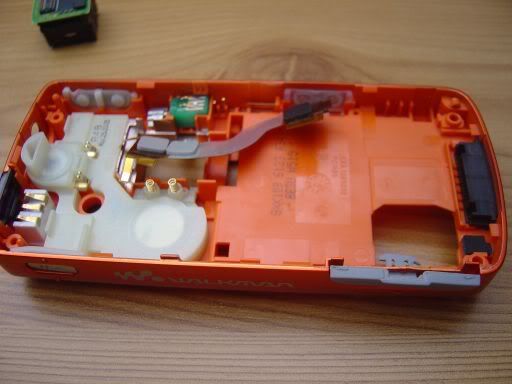
PART 4 - RECOMPOSITION (The Final Act)
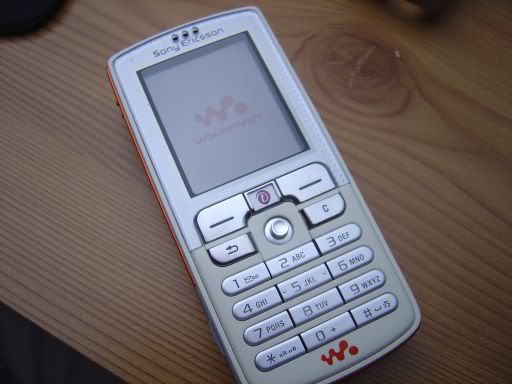
Now all we have to do is put our new housing on. Just retrace the steps and you will be fine. Couple of tips though, put the button in first....they can be tricky.
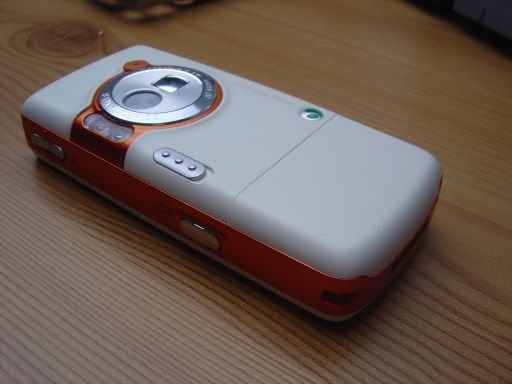
Then, once done lets hope you have something looking like this.
--------------------------------------------------------------------------
The original thread's here.

0 件のコメント:
コメントを投稿
登録 コメントの投稿 [Atom]
<< ホーム